IMAGES
Lets get on to doing some images. We will be using the img src="" alt="" tag src stands for source where you getting it from just like the href. And alt is for what happens if the image is moved and/or cant work. The picture has to be found from the C: and go through each folder

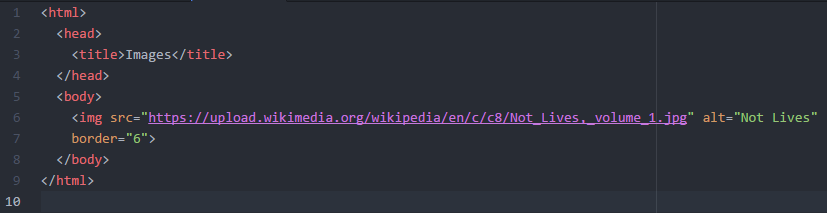
And sometimes we could links instead of downloading it you can put a url.

Now we are going to fix the the height and width of the pictures. Just add before we finish the tag say width="" and do same with height

Or you could add a border to the images.
Now we will learn image mapping. Meaning we will learn how to put links on images. So in the example you can click the icon and the flower to be sent to another web page. You will be working with coords which means coordinates. The first number is the top coordinates, the second is the right coordinates, third is the bottom coordinates, and last is the left coordinates. Think of it like a xy axis. just ploting points on the image.

That it for images here.
Summary
- The element is used to add images to a web page.
- You must always specify a src attribute to indicate the source of an image and an alt attribute to describe the content of an image.
- You should save images at the size you will be using them on the web page and in the appropriate format.
- Photographs are best saved as JPEGs; illustrations or logos that use flat colors are better saved as GIFs.
Latest News
Testimonials
Juhnson Jean-Baptiste
 "If it weren't for this program I would not have known this was an opportunity for me."
Jordan Chestnut-McKnight
 "I would have only focused on art design if not for this program"
Newsletter Signup

Let's build bridges that last. Time to code!